These days most of your customers don’t want to visit your factory unless it is a “show and tell” field trip. We have found that the days of press checks are long long gone and that even nervous customers with large orders don’t want to visit the plant. Too much traffic, they are too busy, and honestly, we don’t really want them here anyway. So the next best thing is taking a photo. You can cry about it, but there is no getting around the fact that you have to take photos of shirts to get approvals. Tom will in the coming weeks cover what to do to set up a professional lighting and backdrop system, but I’ll get us started with a cellphone and some common sense.
Some basics:
- Except for a few luddites out there you all have some decent cellphones and make sure your decent cellphone has a good camera. Good camera means good resolution, accurate color, and works in low light. Do some research on line about the phone’s camera before you get your next phone.
- Lighting is key, find a well-lit place. Usually that good place isn’t in direct sunlight, nor directly under fluorescent bulbs. The best place is usually a place that gets both types of light and neither of them overly glaring
- Find a neutral backdrop that isn’t shiny and is grey, brown or black.
- Take photos at a slight angle, otherwise you tend to get a distracting glare, and I think also it throws off the red tones as well.
- Look closely at the photos on your own computer before you send it to your customer and make sure it is an accurate representation of what you are seeing with your own two eyes. This works both ways and it may look better or worse in real life than what they are going to see.
- Use words as well as photos. Tell your customer that it looks more red than what you see on your monitor, or that it looks better than what they see, or that it actually is more blue…
- Sometimes photographing the pantone chip you are trying to match gives the customer a better idea of how close you are on the color in question.
- Even if you are going to send a physical sample (and God help you, try and charge for that) still take a photo so that you don’t waste a day if they see a spelling error or something has them reject it from the photo.
- Take photos from a variety of angles, distances from the shirt, and on an appropriately sized person if possible.
- Take a deep breath and gently squeeze the trigger to take the photo. If you have enough light and you can’t steady your hand enough, sometimes you can take a video that will be better than a blurry still photo.
- If they are approving from a photo on a phone on their end? That is not such a good idea, try and get them to look on a monitor.
- Sometimes you can try different cameras. In our shop we have someone with a new iPhone and I have a Galaxy S6 Android which has a good camera that doesn’t look quite the same as the iPhone, it has both plus and minus features.
- You can get a fancy lightbox and all kinds of things to scientifically demonstrate the colors you are getting, but the reality is that most of your customers just want it to look good inside with normal lights and outside in sunlight. They are not selling to anyone that has a lightbox.
-
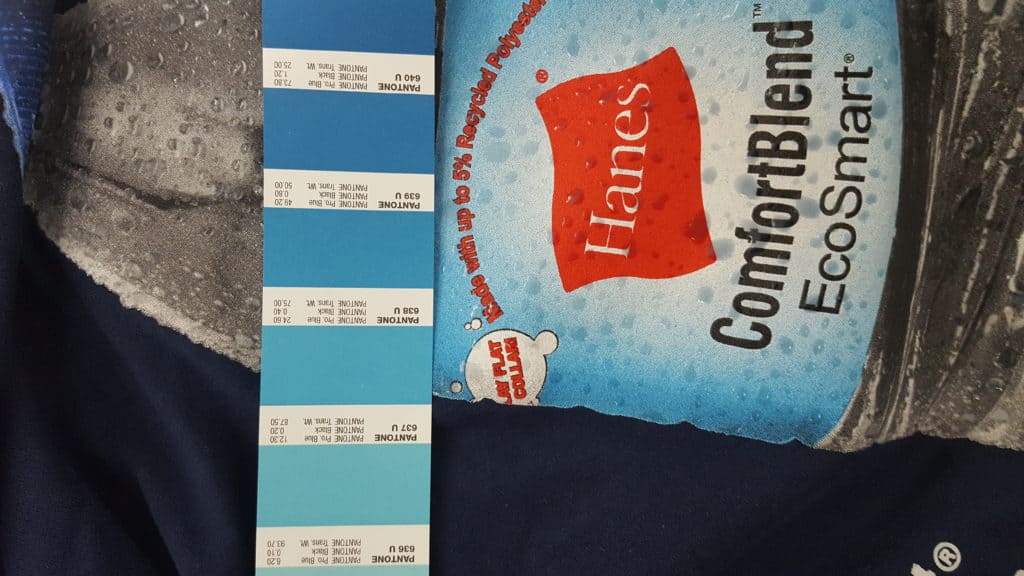
Sometimes a photo with a pantone chip in the view will help the customer see better what is going on. 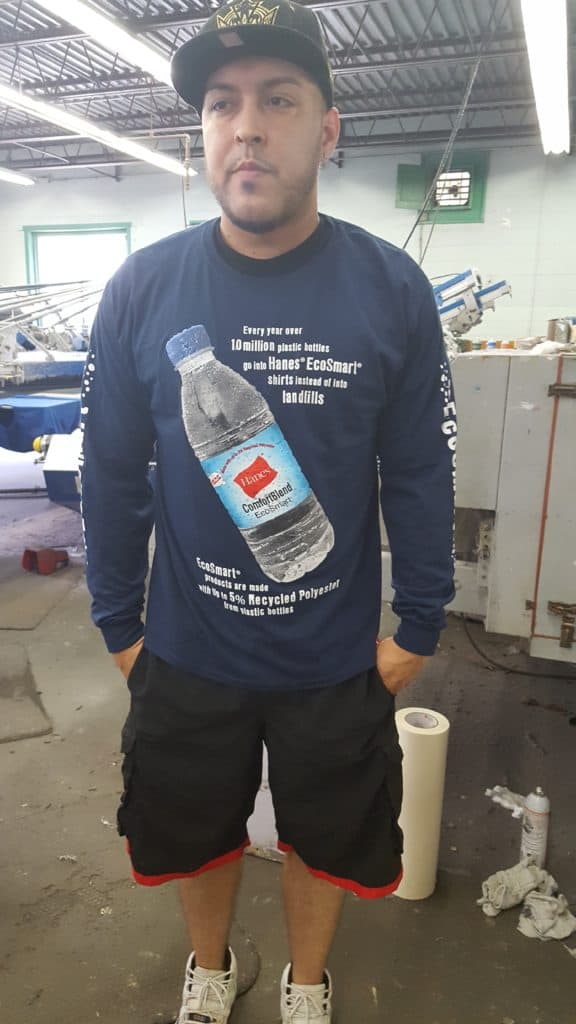
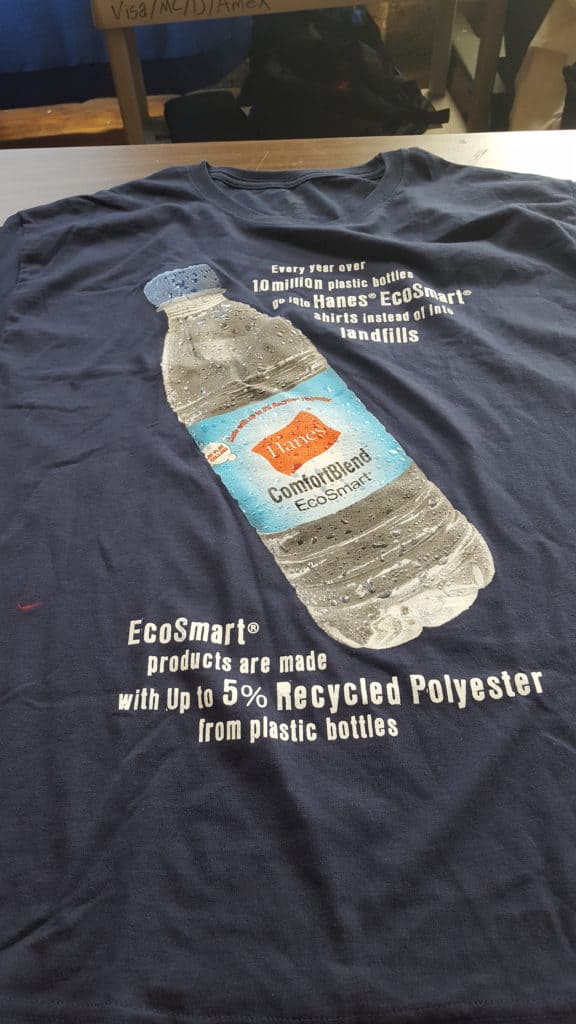
Definitely show the shirt being worn, for example on this shirt you would never get a real sense of how big the image is without seeing it on a person. 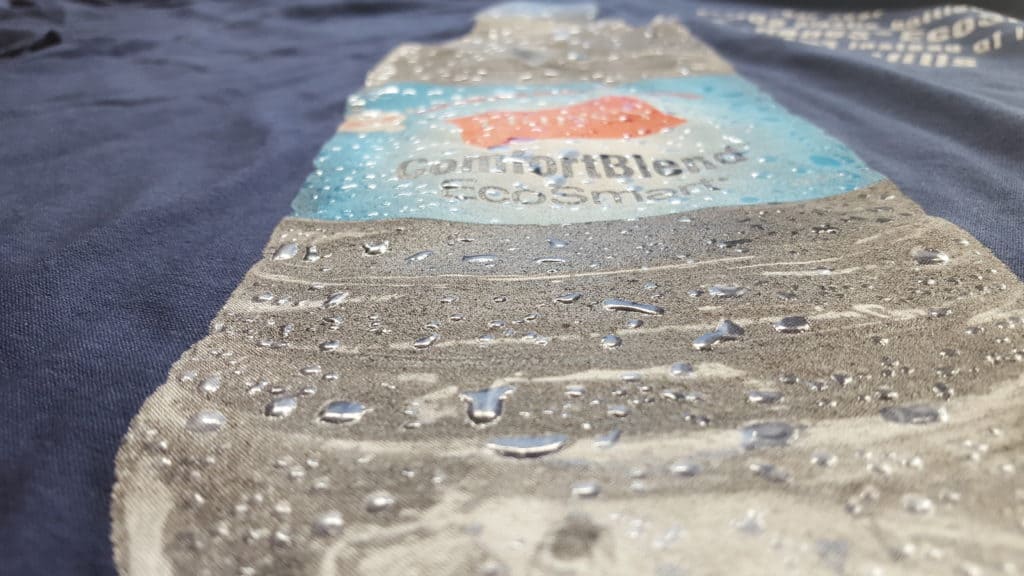
Make sure you get a close up of the design as well. 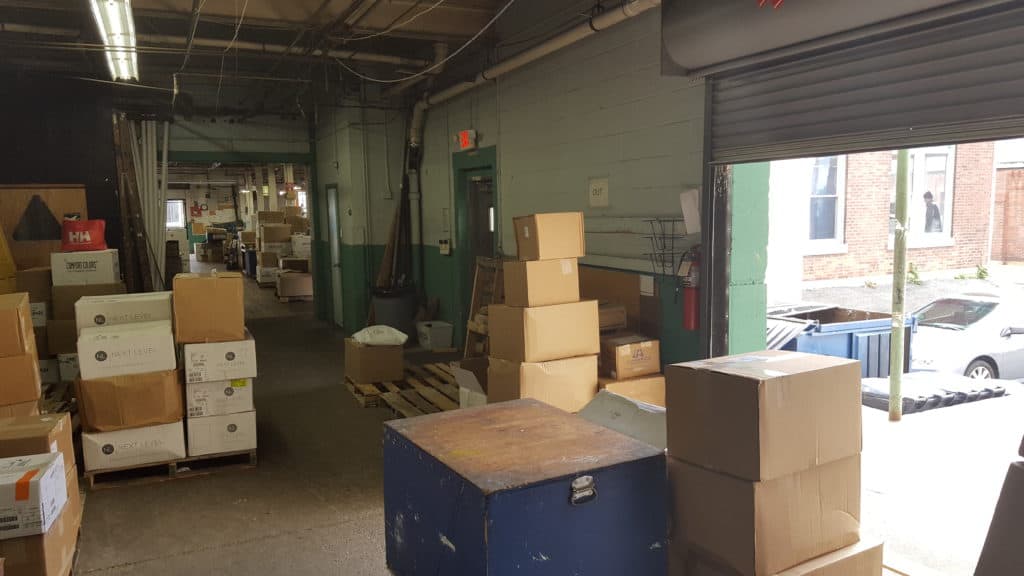
Believe it or not this is a great spot in our shop to take a photo, both natural light coming in from the right and fluorescent from the left. The next photos show that angle and lighting really change how the shirt looks.
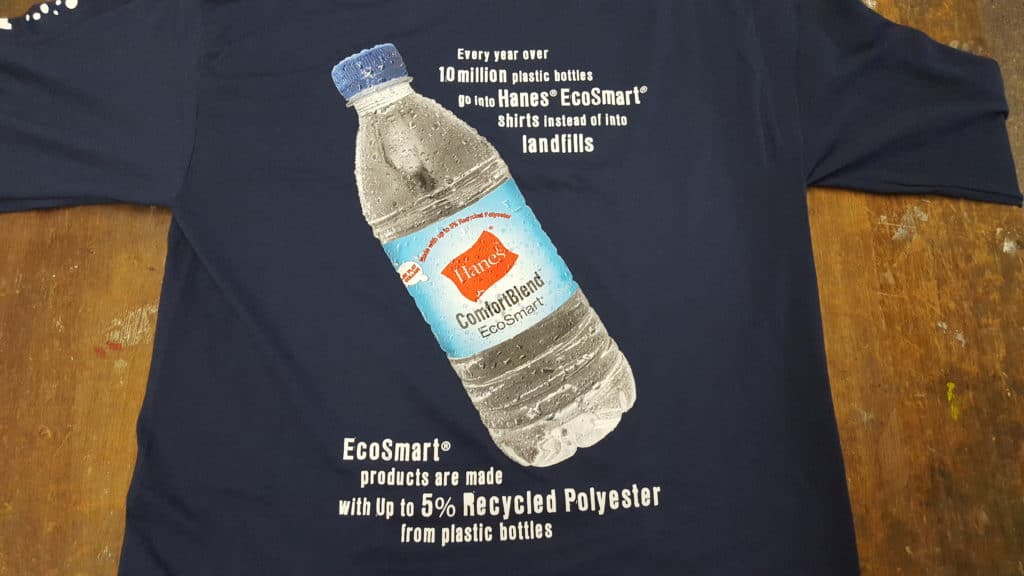
This is under mixed lighting sources and is the most accurate to what we are seeing. 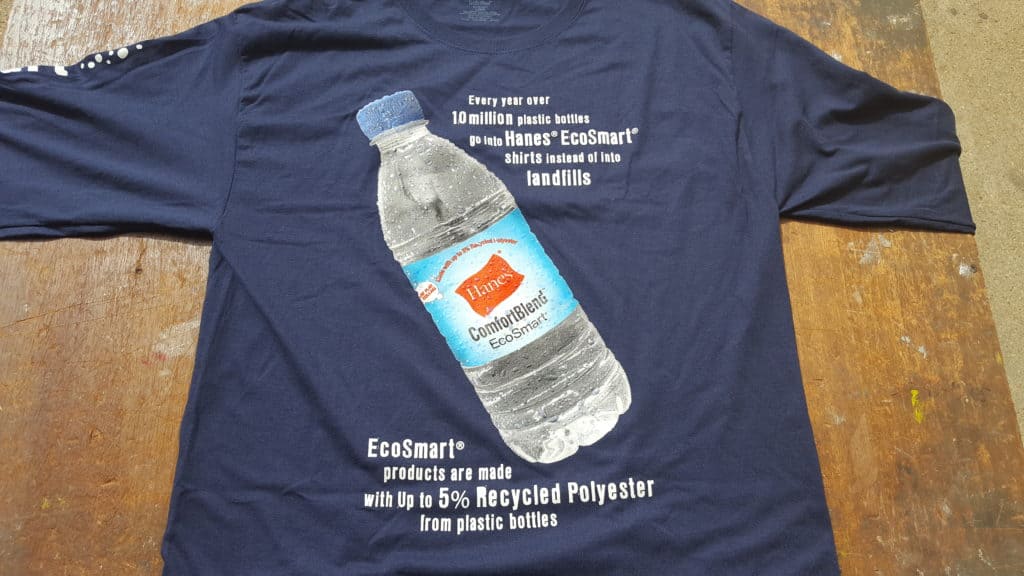
This is under bright natural light and the shirt looks lighter. 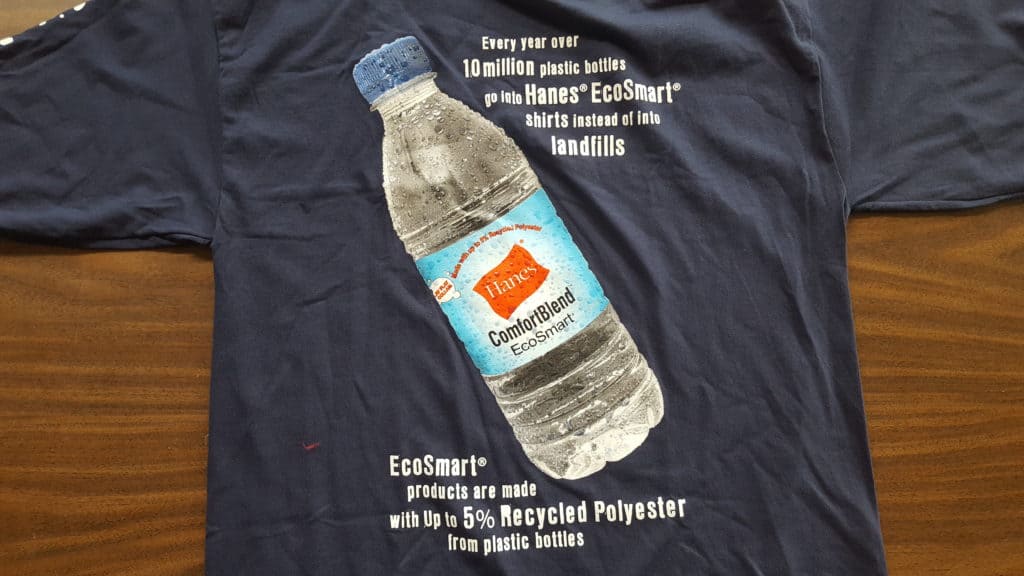
This is under just fluorescent lighting and it makes the shirt look a little duller in this case. 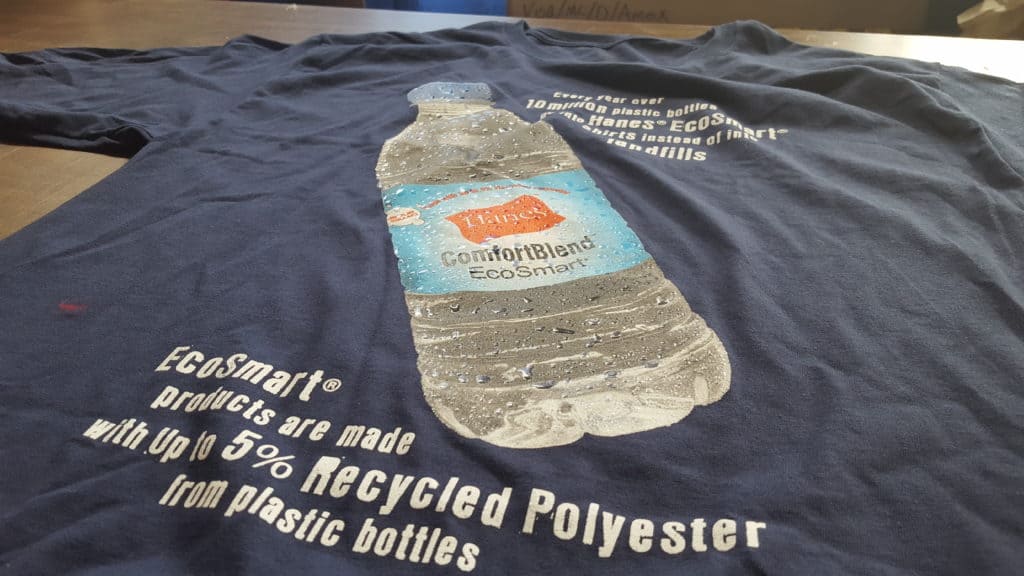
Comments